Marking your ball on the green is a pretty standard practice to most golfers. However, not all players are marking properly. And in some cases, golfers aren’t marking their balls at all. Now, I’ll be the first to tell you that it’s not always necessary to mark your ball — especially when your ball is not in line-of-sight of the player currently putting. But, with golf being the gentlemen’s game that it is, it’s common courtesy to mark your ball whenever it may distract or impede another player’s putt.
How to properly mark your ball
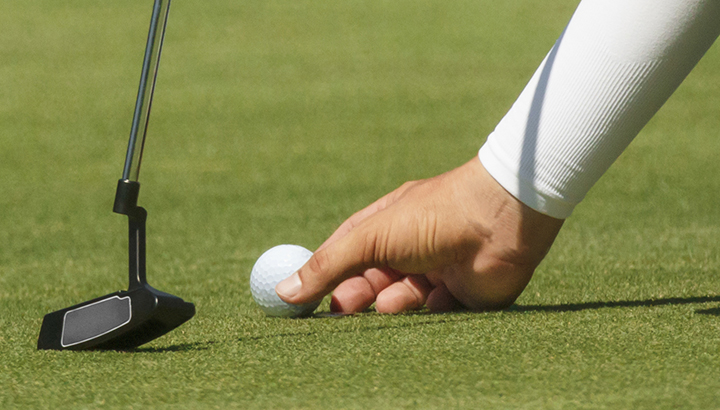
So, you’ve just landed your approach shot on the green. You reach the green and you’re the closest to the pin in your group (go you). Now it’s time to mark your ball and get out of the way while the other players make their putts. Here’s what to do:
- As you approach your ball, take note of where the other players’ balls are so that you don’t step in their line (between their ball and the hole).
- Step behind your ball. Facing the hole, firmly place your marker directly behind your ball.
- Pick up your ball and wait for other players to putt inside your ball mark.
- Once you’re the furthest away, you can return your ball to the front of your ball mark and remove your ball mark.
- Sink the putt!
What to do if you’re requested to move your mark
One situation that can occur is when another player thinks your ball mark will affect their putt. Although most ball markers are flat, they can still have an impact on a ball’s path. Thus, if requested to move your mark out of another player’s line, here is what to do:
- Ask which way the player would like you to move your mark (left or right).
- Take your putter blade and place it next to your mark, lining it up with a reference point (tree/bunker).
- Lift your mark up and move it to the other side of your putter. Repeat to move it further away.
- Once your playing partner putts out, reverse the steps to return the ball mark to it’s original location.
Want to take your ball marking to the next level?
Use this opportunity to line up your ball to the desired ball path of your putt. While other players are putting, get back behind your ball mark and analyze the break of your upcoming putt. Once you’ve determined your putting line (and it’s your turn to putt), place your ball in front of your ball mark. Use the logo on your ball (or draw a line on your ball with a marker) to line up your ball precisely to your desired putting line. Make sure to keep your ball marker in place on the putting surface while you’re adjusting your ball. Only remove it when you’re ball is in it’s final position and you are ready to putt.
There you go — now you know how simple marking your ball is. Your playing partners will thank you for it!
Have a particular ball mark that you like to use? Let us know in the comment section below!
— Steve Steranka